Start With the Substrate, Not the Artwork
High-precision printed leather rarely begins with a clever file. It begins with a roll of synthetic leather that behaves predictably. PU and PVC surfaces may look similar in a swatch book, but their surface energy, plasticizer content, and release-paper grain can change how ink wets, cures, and stays put. A pattern that holds crisp edges on one cast PU may bleed on a heavily plasticized PVC. That is why serious print planning starts with substrate qualification: surface tension check, adhesion trial, and a short run through the actual press. The artwork can be perfect and still fail if the topcoat fights the ink. For printed leather, the first precision decision is often a material decision.
Prepress Turns a Pattern Into Machine Instructions
A design file is not a print recipe. Prepress work separates color channels, sets halftone angles, compensates for substrate stretch, and builds trapping where colors meet. Fine geometric patterns are especially sensitive to dot gain. A tight check pattern can turn into mush if dot gain is not profiled for the actual ink and substrate. Color management to a measured profile, not a monitor, matters here. Some shops still use visual approval only, which is risky for repeat orders. A measured target, such as Delta E tolerance agreed with the customer, gives production a line to hold. The prepress stage should also flag pattern elements that are too fine for the chosen process. That conversation is cheaper before plates or print files are locked.
Printing Precision Lives in Registration and Ink Control
Digital print heads can lay down fine detail, but detail without registration is just noise. On a multi-pass press, small errors in media transport, head alignment, and tension show up as banding or soft edges. A practical target for many decorative printed leather jobs is registration within a few tenths of a millimeter, though the right number depends on pattern scale and viewing distance. Ink limit matters too. Too much ink on a non-porous PVC can pool, crack after embossing, or fail rub tests. Too little ink leaves a washed-out pattern with poor edge definition. Operators need a narrow, documented window for head height, cure temperature, and line speed. Without that window, shifts drift and the same file produces different leather.
| Process route | Typical detail level | Registration concern | Texture result | Common failure |
|---|---|---|---|---|
| Screen print | 35 to 85 lpi, strong solid color | Screen stretch and squeegee wear | Shallow, uniform, depends on emboss roll | Dot gain and color drift |
| Digital direct print | 720 to 1440 dpi, variable data friendly | Media transport and head alignment | Flat until embossed | Banding and ink pooling |
| Digital print plus emboss | High detail plus 3D grain | Print-to-emboss alignment | Deep grain with pattern match | Cracked ink at grain peaks |
Texture Comes From Embossing and Surface Chemistry
Texture is not only a visual effect. Embossing rolls press a grain into the sheet, and the print has to survive that deformation. If the ink film is brittle, grain peaks crack. If the topcoat is too soft, the pattern dulls during packing. The sequence matters: print, cure, emboss, and topcoat each change the surface. A common mistake is treating embossing as a finishing step added after print approval. In practice, the emboss roll depth and pattern scale should be tested with the printed ink film. Surface chemistry also affects touch. A matte topcoat can make fine lines look softer, while a gloss coat can reveal banding that was invisible before. On printed leather, texture and pattern need to be approved together, under the same lighting.
Inspection Should Match the Failure Mode
A printed leather line can pass a quick visual check and still fail in the field. Inspection needs to match the likely failure: rub fastness, adhesion, lightfastness, and pattern alignment after emboss. ISO 105-X12 is a common reference for colorfastness to rubbing, and ASTM D3359 tape adhesion is widely used for coating adhesion. These tests do not cover every end use, but they catch basic ink and topcoat weaknesses. Lighting is another blind spot. A pattern checked under cool white factory light may show metamerism under daylight. At a bag-component plant in southern China, a PVC batch looked clean on the line but showed a visible moire after embossing and under daylight. The root cause was not the artwork. It was a combination of dot angle and emboss roll alignment. The fix was a new halftone angle plus a print-to-emboss registration mark. That kind of issue is easy to miss without inspection that mirrors real viewing conditions.
Where Precision Printed Leather Hits Its Limits
Precision has a cost curve. Very fine patterns demand tighter prepress, slower line speeds, more inspection, and tighter substrate selection. That is not always the right trade. For small repeat patterns viewed at arm's length, a well-controlled digital print plus emboss can look excellent. For large panels viewed under raking light, banding and grain alignment become more visible, so the process window has to tighten. PVC and PU also age differently. Plasticizer migration can change adhesion over time, and heat exposure can shift color. A supplier should be honest about those limits rather than promise a universal print surface. The best results come from matching pattern scale, substrate, ink system, and emboss depth to the actual viewing distance and handling conditions.
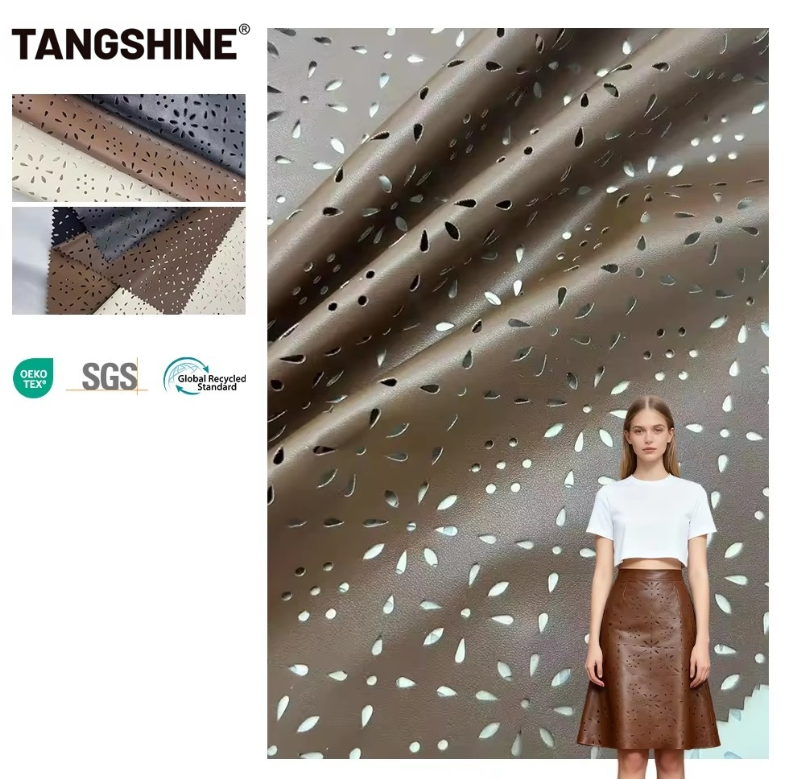
Tangshine brings that practical view to printed leather production through an in-house digital print plant and a leather manufacturing base that covers substrate selection, print control, and finishing under one supply chain. The value is not a single machine or a single roll. It is the ability to keep prepress, printing, embossing, and inspection close enough to solve drift before it becomes a reject.
